


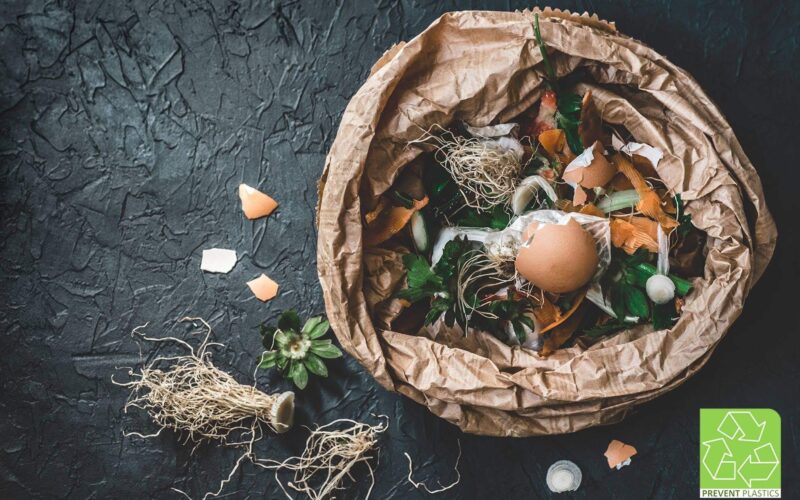
How To Make Home Composting
Compost is organic material that can be supplement nutrient-rich into your home gardens and plants. It can nourish plants growth and enhance soil vitality. Home composting is simple and easy to practice and helps to restore the ecosystem. It can commence from your home kitchen with zero cost and produce organic compost/fertiliser for your plants. We throw away food scraps, coffee grounds, eggshells, fruits, leftovers, bones, etc., into the regular trash bins, but if you know this method, I can assure you that you will keep all of it to make it happen. The benefits of home composting are enriching the soil and suppress plant diseases. It can reduce and save money on the need for chemical fertilisers and minimise methane emissions from landfills and reduce your carbon footprint. So, let get into it. Here are a few steps of how to make home composting. Step 1: Collect all/the kitchen scraps and organic waste in the bins/containers to store food waste into to be used in the compost. Step 2: Begin setting up the compost pile on bare earth (if you have space) or prepare a clay pot or bucket with a cover (if you are doing it indoors) Step 3: Add compost materials in layers, alternating moist and dry. Moisture ingredients are food scraps, tea bags, seaweed, etc. Dry materials are leaves and fruits’ skins. If you have wood ashes, sprinkle in thin layers, or they will clump together and be slow to break down. Step 4: Add manure; next is putting the green materials high in nitrogen and can be used to activate the heating process in your compost. Fruit’s vegetables, coffee grounds, manure, etc., all can be added at this stage or the so-called second layer of the compost yard. Make sure that to place the same layer of materials as previous layers. It cannot add a large quantity, and there is a space for them to breath and have enough oxygen and space and microbes to develop and decompose. Step 5: Keep compost moist: Ensure that the compost pile is moist for the organic materials to break down quickly. For example, to add water lightly and make sure that the pile is moisturised (20-30%) all the time, but it is not too wet nor too dry to create a balance. Step 6: Cover with anything you have: Now, it needs to be covered the pile with general garden waste. Protecting is vital because compost piles can attract lots of insects and animals and generate bad smells. For instance, considering it to cover with black cloth to raise the temperature directly affects microbial activities with the increase of nitrogen inside. Step 7: Turn: The primary obligation is to turn the pile at least twice every month. Mixing or turning the compost pile is key to aerating the composting materials and speeding the process to completion. Step 8: Final Product: When the compost turns into a dark brown colour, and it no longer gets warm, and you can see that things are almost broken down, and less activity happens, you should stop putting more and finish it off. It usually takes two to 6 weeks to get it done, and it depends on the volume of materials. What to Compost • Fruits and vegetables • Eggshells • Coffee grounds • Teabags • Nutshells • Yard trimmings • Grass clippings • Houseplants • Leaves • Hair What Not to Compost and Why • Dairy products (e.g., butter, milk, sour cream, yoghurt) and eggs: can generate odour problems and attract pests such as rodents and flies • Fats, grease, lard, or oils: can produce odour problems and attract pests such as rodents and flies • Meat or fish bones and scraps: can create odour problems and attract pests such as rodents and flies • Pet wastes (e.g., dog or cat faeces, soiled cat litter): might contain parasites, bacteria, germs, pathogens, and viruses harmful to humans • Yard trimmings treated with chemical pesticides: Might kill beneficial composting organisms Great Job! You have followed every step of this method; then, you can commence practising it at your home and your garden. On a big scale, you can also generate income. Let start COMPOSTING, SHALL WE?
This website was created and maintained with the financial support of the European Union. Its contents are the sole responsibility of the Prevent Plastics project and do not necessarily reflect the views of the European Union.
©2026 Prevent Plastics+. Developed by

This website was created and maintained with the financial support of the European Union. Its contents are the sole responsibility of the Prevent Plastics+ project and do not necessarily reflect the views of the European Union.
©2026 Prevent Plastics+. Developed by